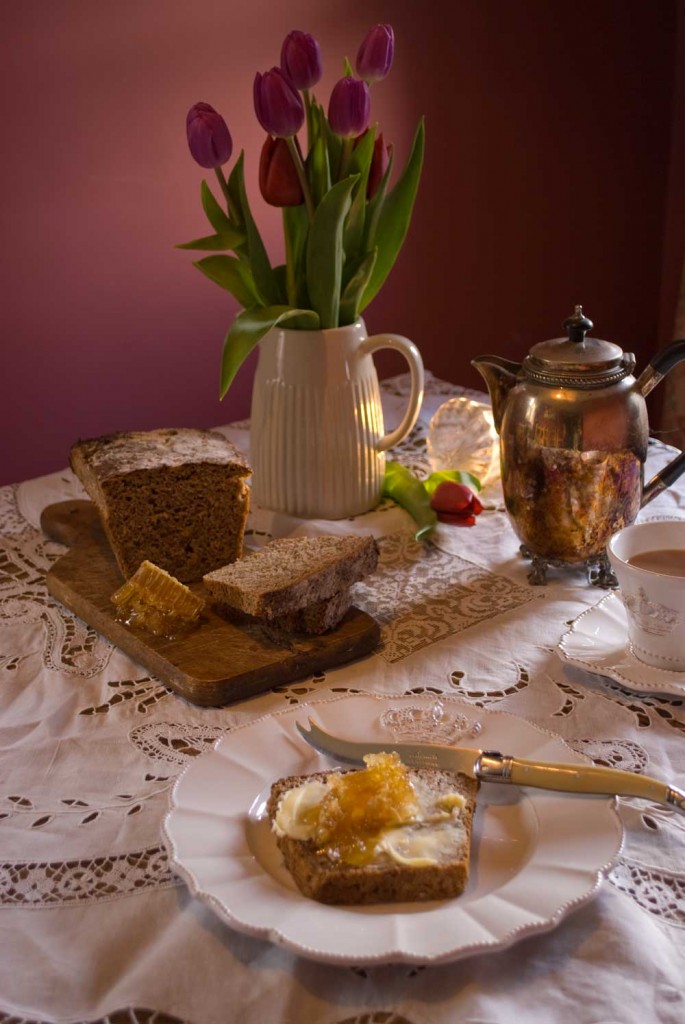
Pear and walnut bread
I love bread in all guises, shapes and forms. There is something extremely comforting about spending a rainy afternoon in the kitchen coming up with new taste combinations and of course, getting to test the result at the end. This bread goes very well with cheese, but I prefer to go sweet with jams or curd and of course a hot pot of tea!
Serves: 1 loaf
Difficulty: Easy
Time: 3.5 hrs (includes resting time)
Ingredients
- 500g spelt flour
- 300ml warm water
- 3 firm pears
- 2 tbsp honeycomb/honey
- 3 tbsp walnuts
- 15g dry yeast
- 1 tsp olive oil
- 1 tsp caster sugar
- Squeeze of lemon
- Salt
Pear and walnut bread
I love bread in all guises, shapes and forms. There is something extremely comforting about spending a rainy afternoon in the kitchen coming up with new taste combinations and of course, getting to test the result at the end. This bread goes very well with cheese, but I prefer to go sweet with jams or curd and of course a hot pot of tea!
Method

- The first step is to activate the yeast. Dissolve the sugar in 300ml of luke warm water. Sprinkle over the yeast and then leave for 15 mins somewhere warm. You will know when it’s activated as the surface will be frothy. Give the mix a gentle whisk with a fork and now it is ready to use.
- While the yeast is activating you can prepare the other ingredients. Grate the pears and squeeze over the lemon juice to stop them turning brown. Roughly chop the walnuts and should you be using honeycomb instead of runny honey then roughly chop that too.
- You are now ready to start the kneading process. If you have a freestanding mixer with a dough hook put the flour, salt and yeast into the bowl and set the speed to medium. It should take 6 minutes to get to the consistency you want which is a fairly dry but smooth dough. If you don’t have a mixer you can of course do this by hand but it will just take a bit longer to knead.
- Next add the pears, walnuts and honeycomb and mix with your hands. The mix will get quite wet at this point and it will take a bit of effort to incorporate everything, but keep persevering.
- Once mixed cover the bowl loosely with cling film or a damp tea towel and leave somewhere warm to rise for 1.5 hours.
- The dough should double in size after this time – once you are happy with the rise you can transfer into a lightly oiled bread tin which has also been dusted with flour. This mix makes a little bit too much for a standard bread tin but you can use the spare to form a couple of small rolls.
- You need to leave the bread to rise again for another 30 – 45 mins in the tin. In the meantime pre-heat the oven to 190℃ (fan).
- When you’re ready to bake, place the bread in the middle of the oven and cook for 45 mins. You will know if it’s ready as the base of the loaf will sound hollow when you tap it with your finger – if it still has a dull thud your bread probably needs a bit longer in the oven so pop it in for a further 5 – 10 mins. Turn out and leave to cool on a wire rack.
- Best served warm but will keep well for 2 – 3 days in an air tight container.
